RDP Port Configuration: The Complete Guide to RDP Ports & Network Security
Along with having a reliable internet connection, securing the data transmitted to and from your private network is critical. Using a VPN, strong authentication, and proper RDP port configuration are essential steps to protect your systems and personal devices.
Understanding RDP network ports, how they work, and how to configure them securely is vital for anyone using Remote Desktop services. This guide covers everything you need to know about RDP ports, including default settings, security implications, and how to change them.

Understanding RDP Ports: The Basics
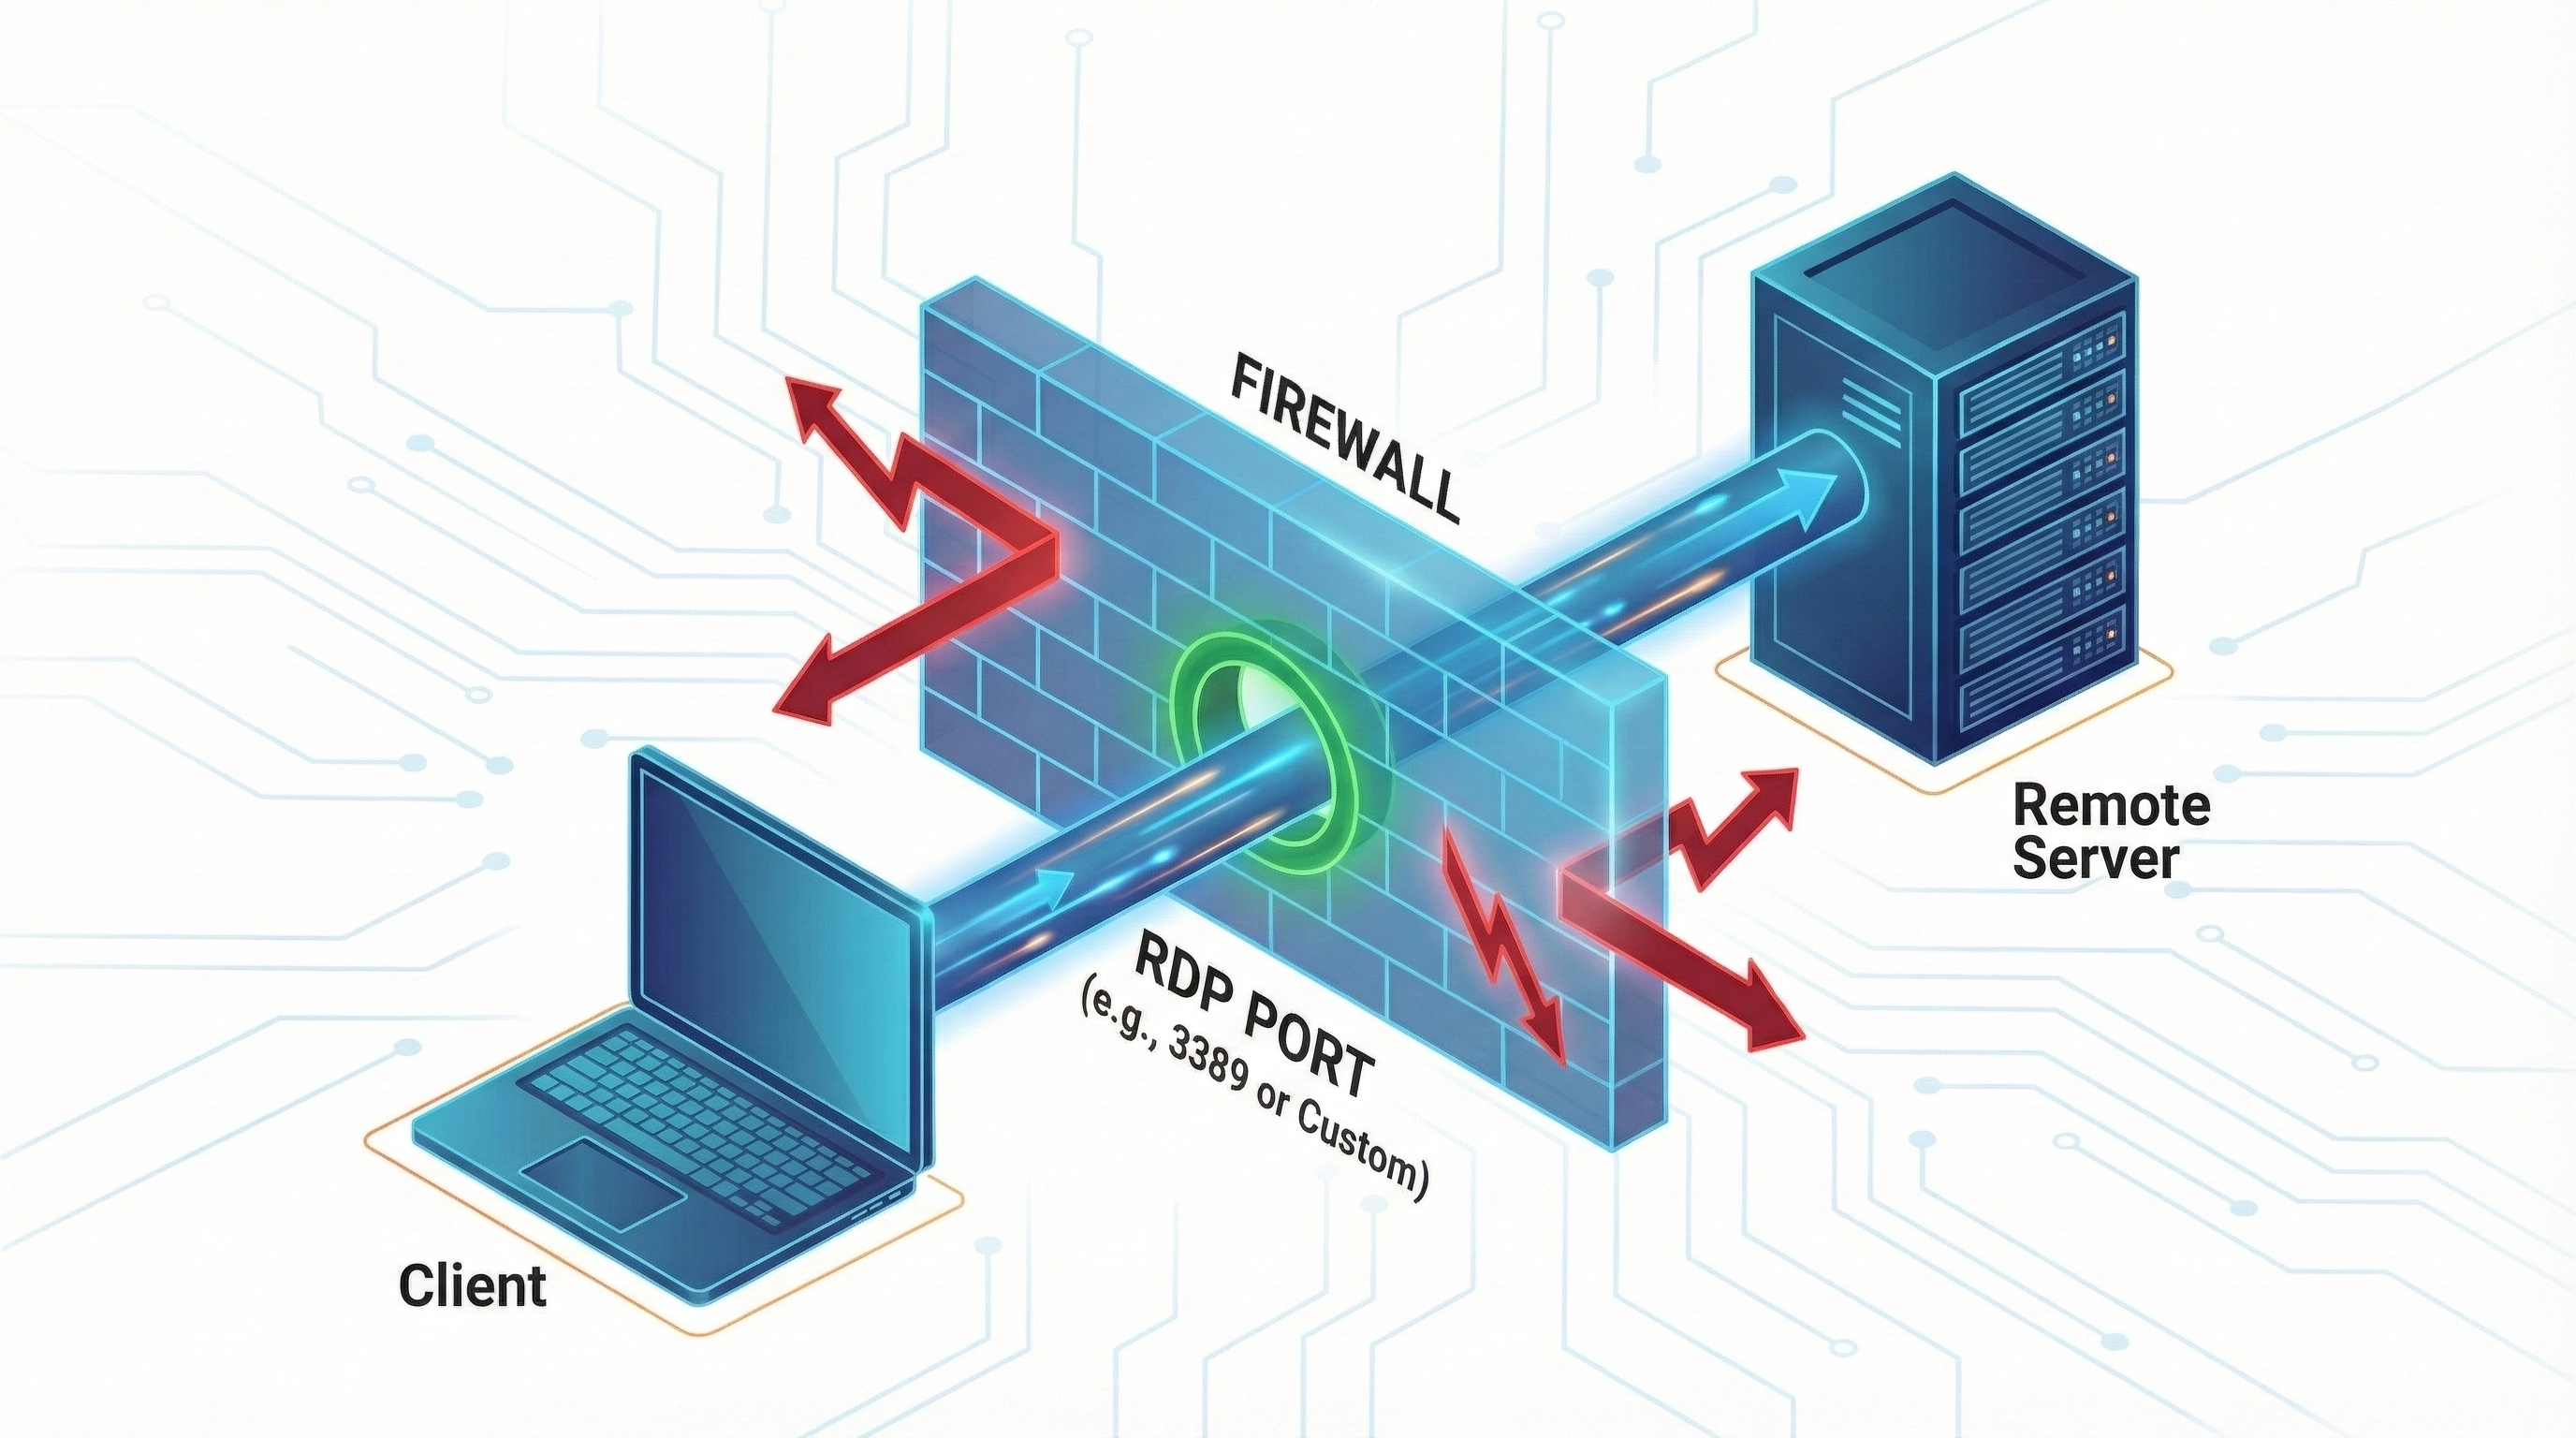
An RDP port acts as a communication channel through which the Remote Desktop Protocol (RDP) exchanges data between the client and the server. When you initiate a Remote Desktop session, your computer communicates with the remote system through specific network ports to establish and maintain a remote control connection.
The Default RDP Port Number
By default, Windows assigns TCP 3389 to the Remote Desktop Protocol. This port has been the standard since Windows NT 4.0 and is still used today in Windows 10, Windows 11, and Windows Server 2022.
The RDP protocol operates at the Transport Layer (Layer 4) of the OSI model and primarily uses TCP, ensuring reliable, ordered delivery of packets—critical for transmitting screen updates, keyboard input, mouse movements, and clipboard data.
How to Change the RDP Port Number (Step-by-Step)
While port 3389 works well in most cases, changing the default RDP port is often recommended for security-focused environments to reduce the attack surface from automated bots.

Step 1: Modify the Windows Registry
- Press
Win + R, typeregedit, and press Enter. - Navigate to the following path:
HKEY_LOCAL_MACHINE\System\CurrentControlSet\Control\Terminal Server\WinStations\RDP-Tcp
- Double-click PortNumber.
- Select Decimal.
- Enter a new port number (recommended range: 1024–65535).
- Click OK and close Registry Editor.
Step 2: Update Windows Firewall Rules
After changing the registry, you must allow traffic through the new port.
- Open Windows Defender Firewall with Advanced Security.
- Click Inbound Rules > New Rule.
- Select Port and choose TCP.
- Enter your new RDP port number.
- Choose Allow the connection and apply it to all profiles.
- Name the rule (e.g., "RDP Custom Port").
Connecting to RDP Using a Custom Port
Once you have changed the port, the standard connection method will no longer work. You must specify the port number when connecting.
Using Remote Desktop Connection (mstsc)
In the "Computer" field of the RDP app, append the port number after the IP address using a colon:
Using Command Line
You can also launch a session directly via command prompt:
Security Best Practices Beyond Port Changes
Changing the RDP port is only one part of securing Remote Desktop. It provides "security through obscurity," but sophisticated attackers can still find open ports.
| Security Measure | Why It Is Critical |
|---|---|
| Network Level Authentication (NLA) | Ensures users authenticate before a session is created, preventing resource exhaustion attacks. |
| Strong Passwords | Prevents brute-force attacks from guessing simple credentials. |
| VPN or RD Gateway | Adds a secure encryption layer so RDP ports are not exposed directly to the public internet. |
| Account Lockout Policies | Automatically blocks accounts after a set number of failed login attempts. |
Troubleshooting Common RDP Port Issues
- Connection Timeout: Verify that the client and server port numbers match exactly.
- Firewall Blocking: Ensure the new port is allowed in both the Windows Firewall and your router/cloud provider's security group.
- Registry Changes Not Active: You must restart the "Remote Desktop Services" service or reboot the computer for registry changes to take effect.